Natural Light Child Photography – 7 tips to create natural moments indoors – Ep. 29
Natural Light Child Photography – 7 tips to create natural moments indoors – Ep. 29
Natural Light Child Photography – 7 tips to create natural moments indoors – Ep. 29

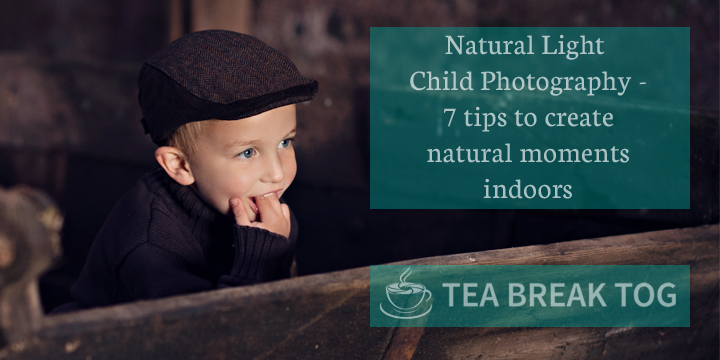
Natural Light Child Photography – 7 tips to create natural moments indoors
Today I am talking about natural light child photography indoors when you only have a small area of good light to work in. How do you get them to stay there for any length of time so that you can take great photographs of them?
So I have talked at length now about how to find the light indoors before you take photographs of kids. I hope I convinced you of how important that is. I also gave you lots of other tips about how to prepare in advance of taking photographs of children so that when you do press that shutter button, your chances of success are much higher.
I then ended up going ‘off on one’ about why making the effort to do all of this will mean the difference between you taking a snapshot and creating a photograph. I explained that a good lifestyle photographer chooses the light and the setting and then they create the moments that end up looking so natural.
So let’s say you have found the light indoors and you have done all the preparation I recommended to you last week. Now how on earth do you create those moments? And how do you keep young children in one place long enough to even attempt to create anything?!
Fear not. That’s what I am going to help you with today!
I am focusing on young children in this episode because they are the most challenging. If you used these tips with older kids you would get some funny looks – I will help you with that age group another time!

Before we get started on this I want to mention a message I received last week. Angela sent me a message after episode 27. She said;
“Julie thanks so much for your advice about preparing for taking photographs of children inside. I always have trouble with this and your pointers were great.
You mentioned making sure to get exposure settings before starting but you didn’t mention what the exposure settings should be. Can you tell me what your settings would be for a shoot like this? For example I regularly take photographs of my kids in my living room in front of a double patio door.
What settings should I be using for this?”
Angela is not alone in asking questions like this. It happens a lot. I used to ask questions like this too.
The problem is though, this question is impossible to answer.
Your exposure settings will absolutely depend on the light you have available to you on that particular day. The weather and the time of day will affect this dramatically.
Your exposure settings will also depend on how many children you are taking photographs of, how old they are and how close together they are. So, for example, if you are taking photographs of one child who is around 5 years old and can stay relatively still for long enough for you to press the shutter button then you might open your aperture wide for a shallow depth of field so you can blur out the background and really zone in on their eyes. However, if you have a much younger subject who is zooming about or you have two young children to photograph and they are not close together or in line with each other then a wide aperture is just going to mean that one or both are going to out of focus.
So you see, the settings you need in your room at the time of day you are shooting with your subjects and your camera will determine your settings.

And they will be completely different from my settings in my scenario.
If all this ‘settings’ stuff is completely confusing to you, don’t worry, just sign up for my FREE ‘Auto to Manual for Beginners’ course and you will be clued-up in ten days flat – honestly!
So whilst I cannot tell you what your exposure settings should be, what I can do Angela, is give you some pointers (I hope that makes up for it!)
Firstly, when my subjects are young children I aim for a minimum shutter speed of 1/250 sec. Of course faster would be better but that is the minimum I would accept if I didn’t have quite as much light as I would like. Young kids move fast and you don’t want motion blur.
To make sure your shutter speed is fast enough you might need to increase your ISO. Don’t be scared to do that. If you have chosen good light indoors then you should not have much of a problem with digital noise. Crank up that ISO in order to speed up that shutter.
I typically select a wide aperture indoors to let in lots of light and also to blur out the distractions which are often everywhere inside. If I have just one subject then I will probably select f/1.4 –f/2 (depending on their age and how still they can be). If I am capturing more than one child together in a photograph then I would opt for f/2.8 and give myself a little more depth of field to play with.
N.B. Shooting with very wide apertures like f/1.4 needs practice. You will have varied results with sharpness because your depth of field is so very shallow. By all means practice with these wide apertures but perhaps not if the images really matter…
To finish my advice regarding settings I would also be shooting this using continuous autofocus mode (AF-C or AI Servo) and back button focus. Great settings for fast-moving kids!
Once you have settled on your exposure settings (do all of this with an adult if you can – kids get bored!) remember they shouldn’t really change much at all if you are working in the same light throughout your shoot. Ignore your light meter and just shoot. Don’t be a ‘meterholic’!
So let me help you with making those moments happen! When you are working with kids you have to be so much more than a good photographer. You have to able to handle children too. Now that doesn’t mean you need to be an entertainer. Not at all. In fact, I think getting kids too hyper when you are trying to take their photographs can quickly turn into a nightmare…
But you do need to understand kids at a basic level at least.
I believe that taking photographs of your own children is actually much more difficult in some ways than taking photographs of other people’s children. Parents are constantly telling me how patient I am with their kids whilst I am photographing them. The truth is, it is easy to be patient and fun and silly with kids when they are not your own! Kids behave so much better for other people. Our own kids know which buttons to press don’t they? They know what winds us up and they also don’t feel that they have to pretend with us either.
All of the tips I am going to give you can be used with your own children and with other people’s. The trick, always, is to keep it fun and light-hearted. This is much easier with other people’s kids but might require some restraint with your own children. There may be things you would normally check them on which you are forced to let go for the sake of a bit more shooting time.
Make sure you are not tired and grumpy before you start and remember there is always tomorrow if things don’t go according to plan…
I am going to give you my 7 tips for natural light child photography indoors.

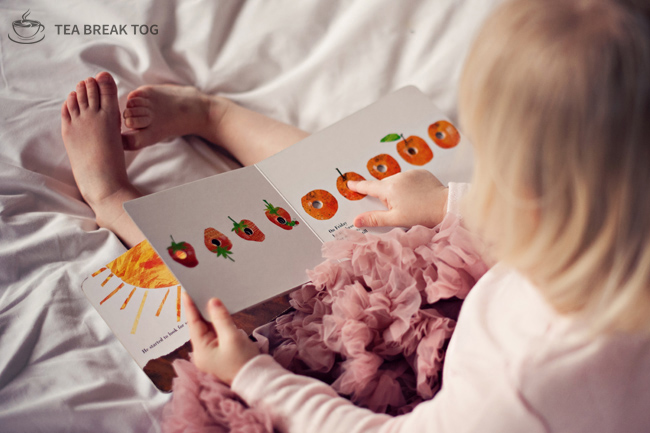
Set up an activity in great light
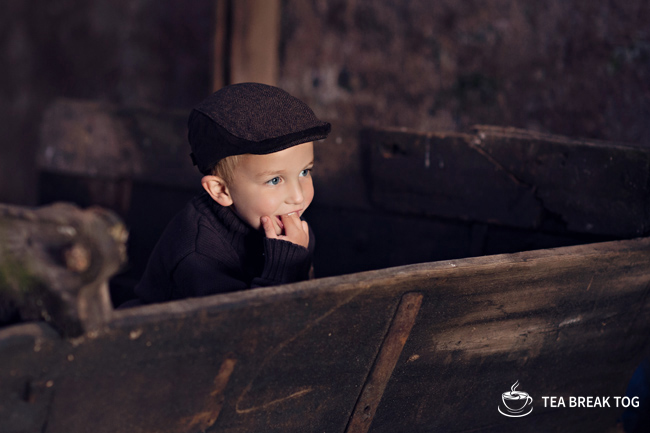
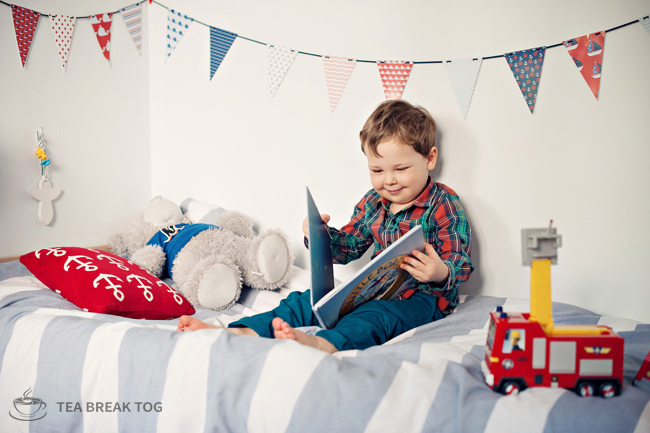
Candid images of kids can be so beautiful. But candid is difficult indoors where you might only have a small area of ‘good light’. You want those cute expressions to happen in that beautiful light and not in a dark corner, right?
So set something fun up for them to do. This might be a teddy bears’ tea party on the carpet, jumping on the bed, a lego challenge, drawing, a puppet show or simply some beloved books to read. The possibilities are endless. If there is something fun to do in that gorgeous light and you are all ready to shoot then you are going to get some decent time to capture a pretty set of images before your little subject gets bored.
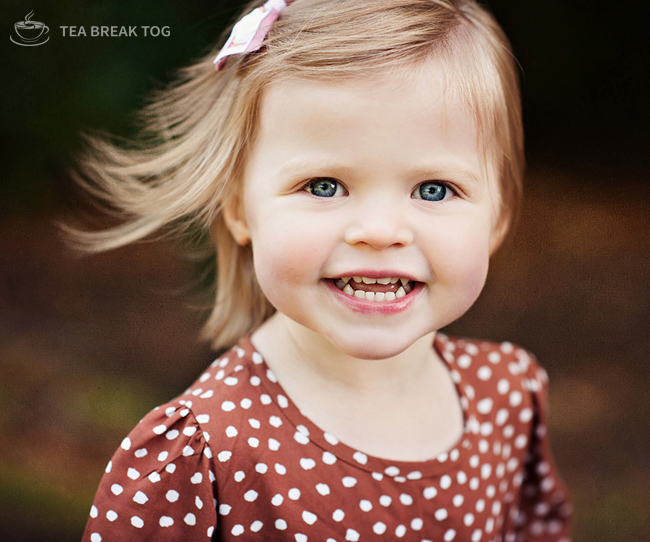
Every now and again say their name or make a funny noise and get them to look up at you if you want some eye contact.
Don’t forget to capture the little details like close-ups of busy little hands or bare feet and move around the whole scene to capture it from every angle. You are not a tree – use your feet!


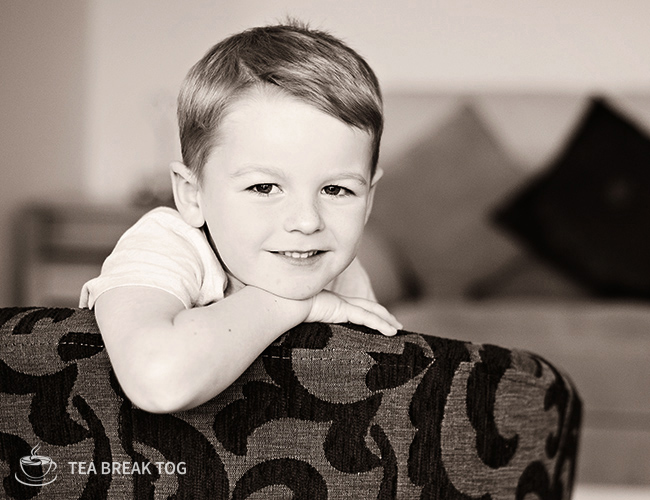
Find new ways to sit
Young kids wriggle when they are asked to sit still. They just do. Asking children to sit still so that you can create a photograph is like asking them to sleep through until 11am because you have a hangover – it’s not going to happen!
If you are dealing with a wriggler you can get creative with your seating. Don’t ask me why but if you allow kids to sit differently on a seat than normal then you will get longer before they want to get up.
A good technique is to turn chairs and sofas around so that children are leaning over the back of them instead. When they have something to lean on like this they stay still for longer and they look far more relaxed and comfortable than they do just sitting normally on a chair. For a start, they don’t have to worry about what to do with their hands because they are using them to lean on and sometimes this will mean standing on furniture, which they are probably not usually allowed to do!
You will probably manage a few eye-contact shots by doing this but, remember, the shots with no eye-contact can be equally lovely so capture them too.
Employ a furry assistant
Most young kids have a favourite soft toy or lots of favourite soft toys. This can be a great way of getting their cooperation. I often ask them to go and get their toy and introduce me. We have a chat about them and I usually take a few photographs of them together. Then I ask if they would like the toy to take some photographs of them.
I then joke about a little and get the toy to do some daft stuff with the camera before simply holding the toy between me and my camera and taking some frames. More often than not I get some gorgeous portraits doing this. Your subject will love seeing their favourite toy being the ‘photographer’.
Be careful with this tip – I have had it backfire on me spectacularly! Some kids are pretty protective when it comes to ‘special toys’ and will not want to part with them once they are brought into the scene.
You will know your own child when it comes to this. If your subjects are not your children, chat to their parents and ask them what their thoughts are on this.
Invent a camera dweller or a get a lens buddy!
I used to have a crochet lens buddy who slipped over the end of my lens. He was an owl called Olly. I left him in the park years ago and ever since Olly got lost I have been telling young children that I have a parrot in my camera called Olly. I turned him into a parrot for colour reasons!
When I start the shoot I tell my little subjects about the parrot who lives inside my camera. I tell them his name is Olly and he is very shy but that they might see his colourful feathers when they are looking into my camera. If you have looked into a camera lens then you will have seen the different colour reflections you can often see in the glass. I tell young children that is Olly.
This works best with kids under 8 but I have had kids up to the age of 10 accept this completely and utterly!
Every time they see a new colour I ask them to yell out the colour they saw. I then tell them which part of Olly that was. There is always great hilarity when Olly shows them his bottom!
I actually think my imaginary Olly works better than my lens buddy, Olly, but both are great ways to get kids attention and add some fun.

Swap out your serious head for a while
I know you are a very sensible grown-up and all that, but . . .
Be prepared to sing crap songs at the top of your voice, make fart noises with your mouth and generally dance about and act completely daft. This is easier when it is just you and the kids but often you will have another adult with you. You won’t have time to be embarrassed. Just shed a few years for the shoot and encourage your assistant to do the same.
You will love it really!
If you are taking photographs of your own children then you know already what makes them laugh or smile. There will be a favourite song or a noise that just gets them every time. There are lots of funny phone apps with rude or silly noises so get them installed and have them ready to use.
This one is popular in my house!
If they are not your kids then it can be hard to get a genuine laugh quickly. They might be a bit shy with you (or they just don’t think you are funny!). Don’t waste lots of shooting time trying to find something that makes them laugh – use a parent or an older sibling! Ask your helper to stand as close as possible to you or directly behind you and make the kids laugh. Tell them to be as daft as they like and promise not to look round so they don’t get embarrassed. They will get a fabulous smile or laugh much easier and quicker than you would.
Peek-a-boo
I know, it is such a cliché. But it works like a dream most of the time!
Firstly, your subjects can play peek-a-boo. You can ask them to crouch behind the back of a chair or crawl behind a table or you can just give them something to hide their face with. Make sure you are all set up with your focus point aimed at where their little face is going to appear. Kids can’t help but smile and laugh when they hide and then reappear. Be ready and you will be treated to some real joyful expressions!
You can also ask your helper to play peek-a-boo behind you. This is especially effective with really little ones. So ask your assistant to hide right behind you then pop out to the left, the right or above your head with crazy looks on their face and making silly noises.


Know when to stop
I just can’t emphasise this enough.
If all is going swimmingly and then your mini model starts getting really fed up or upset, don’t try to get them through it. Just stop.
Stopping might mean just taking a break and setting up a new activity or scene while the kids play, grab a snack or just chill out for a while.
But sometimes, stopping might mean quitting. Over. Finished. Done. If you persevere you will not be capturing ‘keeper’ images. You can see it in a kid’s face when they are not enjoying themselves. Unlike us adults they are really, really bad at hiding it! Eyes fill with tears, cheeks get red, drool and snot make a quick appearance and the general mood of the room hits the floor quicker than your shutter speed.
It’s just not worth the stress.
If you make sure to stop when everyone is still having fun, they will be more than willing to let you take photographs again some other time. If you end up with fraught, tearful models you can guarantee that the next time you try to take their photograph will be less than easy.
So those are my 7 tips for creating natural looking images when photographing children indoors. What about you? Do you have any secrets you can share? What works for you? Leave me a comment under episode 29 at teabreaktog.com, visit the Facebook page and join the conversation or connect with me on twitter @TeaBreakTog!
Don’t forget, if you are still struggling to get your head around manual mode then subscribe to my ‘Auto to Manual for Beginners’ course. Nowhere will you learn more in such little time.
Over in the Facebook group this week we have an ‘iPhoneography’ theme going on. There are some absolutely superb images being shared. Please do join us if you are a Facebook user. What a great group of like-minded learners, honestly. You can find us here. Someone will approve your request as soon as possible and we will very much look forward to welcoming you into the fold!
I will be back in a couple of days with another episode in my ‘Composition’ series. I am going to be talking about using foreground in your images. It’s something I certainly love to do. So join me for that. It will definitely get those creative juices flowing and you will start seeing foreground opportunities everywhere you go!
Remember I want to hear from you on today’s topic. If you have any ideas for keeping kids entertained whilst creating magical photography moments indoors then let me know!
The post Natural Light Child Photography – 7 tips to create natural moments indoors – Ep. 29 appeared first on Tea Break Tog.
From The Podcast
Tea Break Tog Photography Podcast
Do you want to improve your photography but are turned off by all the jargon, tech and science? Do you struggle to find the time to develop your skills?My name is Julie Christie and I host the Tea Break Tog photography podcast. My show aims to deliver straight-forward photography lessons, tips and chat to you every week. Episodes are short and focused meaning this is learning that will fit easily around your busy schedule. Let me help you to take control of that camera and capture stunning images!For more information visit www.teabreaktog.com. To get in touch simply click the contact tab on the website or tweet me @TeaBreakTog!Join Podchaser to...
- Rate podcasts and episodes
- Follow podcasts and creators
- Create podcast and episode lists
- & much more
Episode Tags
Claim and edit this page to your liking.
Unlock more with Podchaser Pro
- Audience Insights
- Contact Information
- Demographics
- Charts
- Sponsor History
- and More!

- Account
- Register
- Log In
- Find Friends
- Resources
- Help Center
- Blog
- API
Podchaser is the ultimate destination for podcast data, search, and discovery. Learn More
- © 2024 Podchaser, Inc.
- Privacy Policy
- Terms of Service
- Contact Us