TT 008: Wainscoting
TT 008: Wainscoting
TT 008: Wainscoting

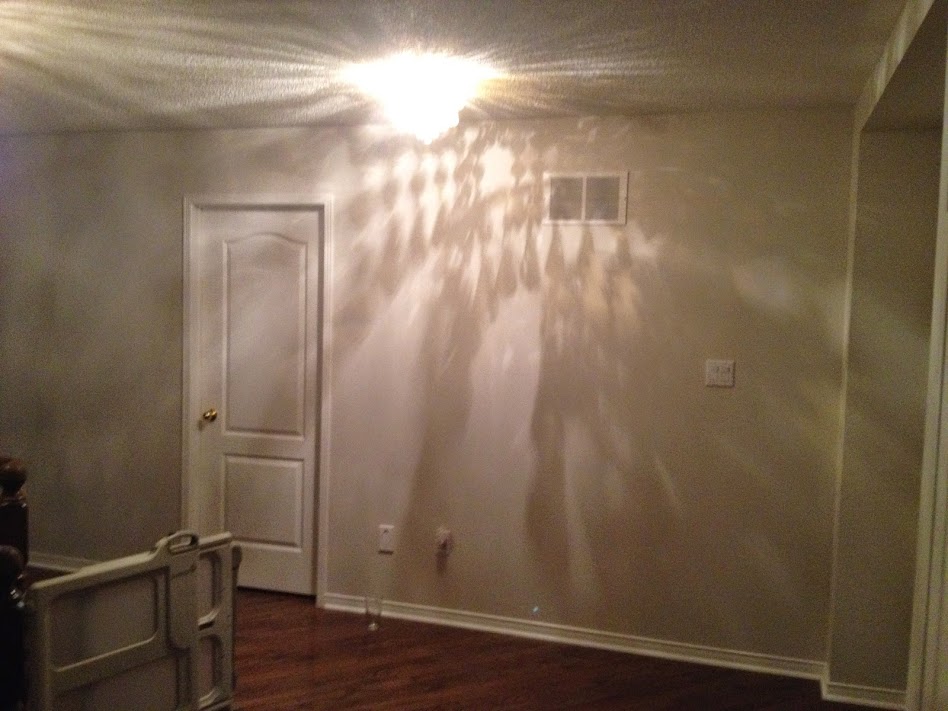
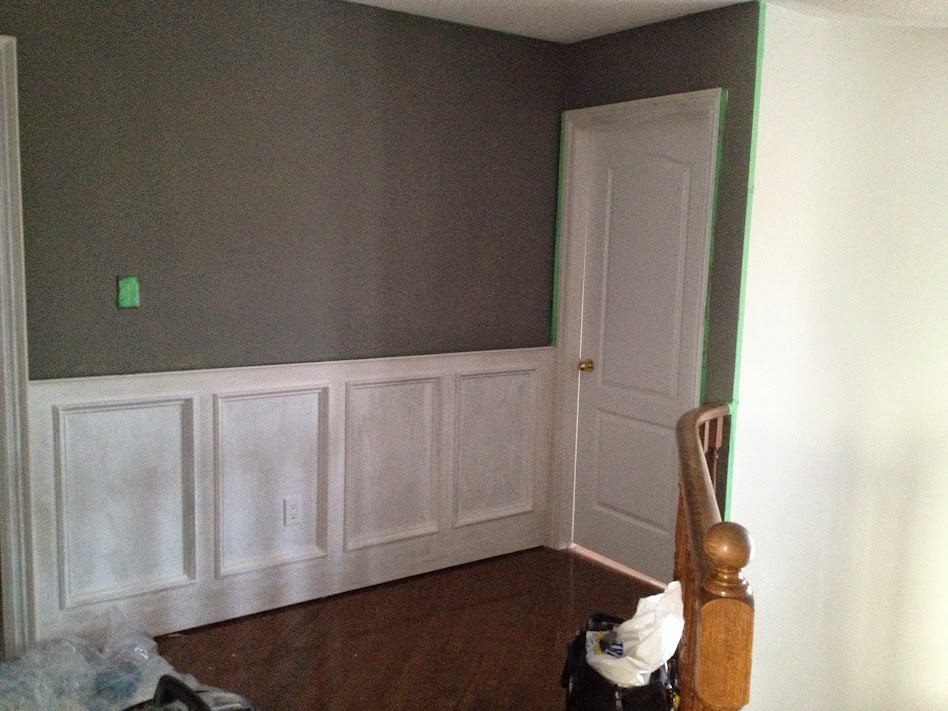
In this episode we cover off wainscoting and our journey down wainscot lane. Wainscoting adds a beautiful element to any home that brings out a rich look and a pop that leaves visitors in awe of your beautiful home. To give you an idea of the possibilities behind wainscoting, here is a before and after look of our wall. Here is a picture of our wall before wainscoting.
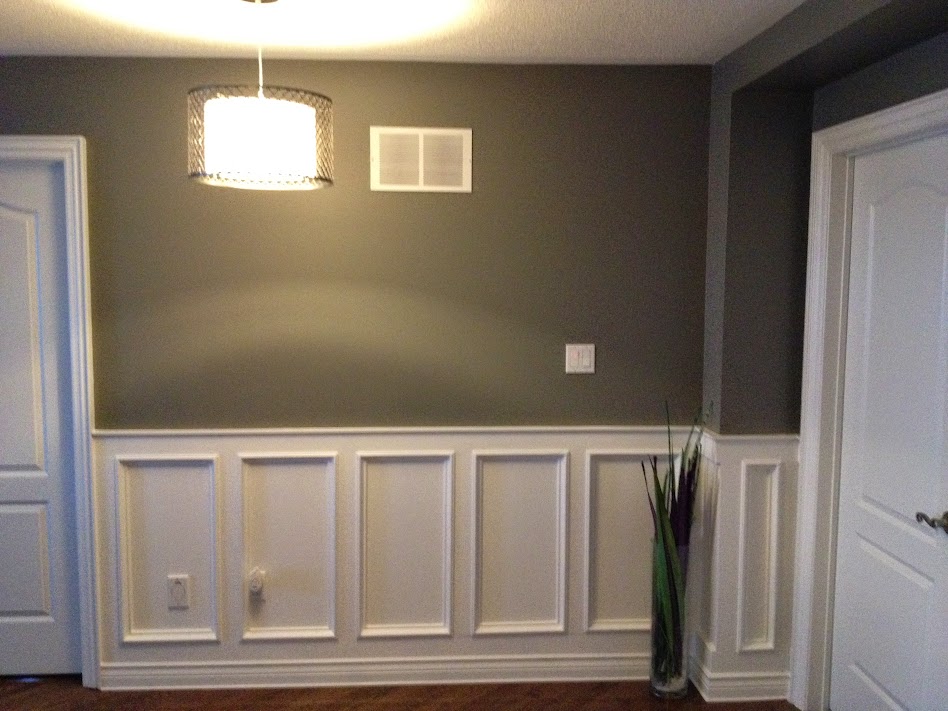
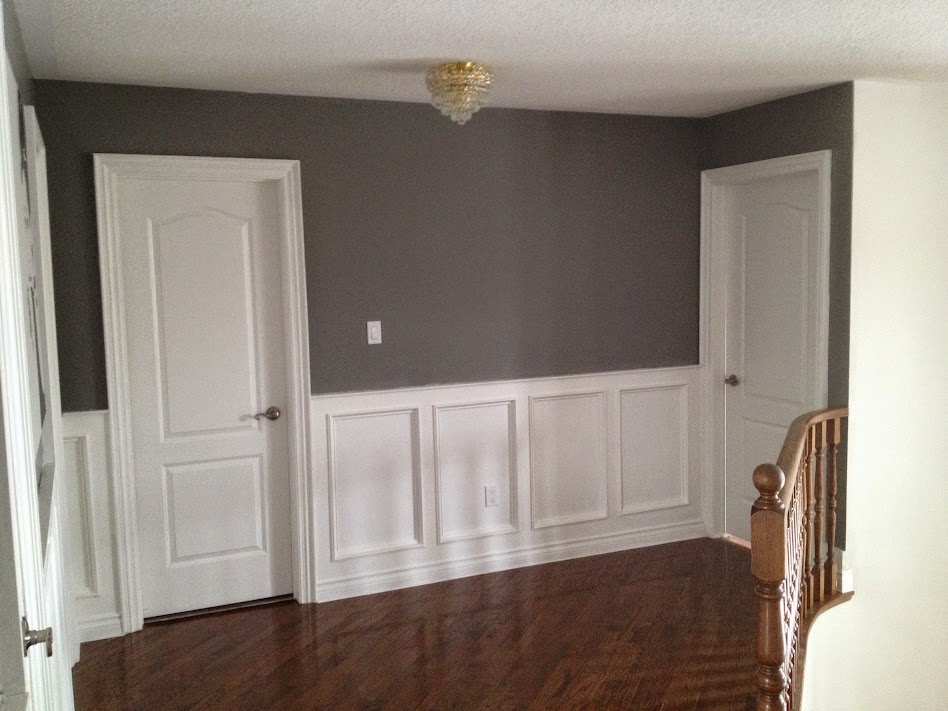
Now here is an image of our wainscoting after
Notice in this instance, I’ve added in a thicker door trim and swapped out the baseboards. This covers only but 9 feet of the entire project. So let me show you how to put this together on the opposite walls.
Now in the podcast I mentioned different joinery methods whether you use glue, tongue and groove, or the keg jig system. I mentioned board and batten but that was my mistake. Board and batten is a particular look for the panels (whoops).
We opted to use the Kreg joinery system. Basically drill pocket holes behind the wood, connect them together and nail them to the wall like this:
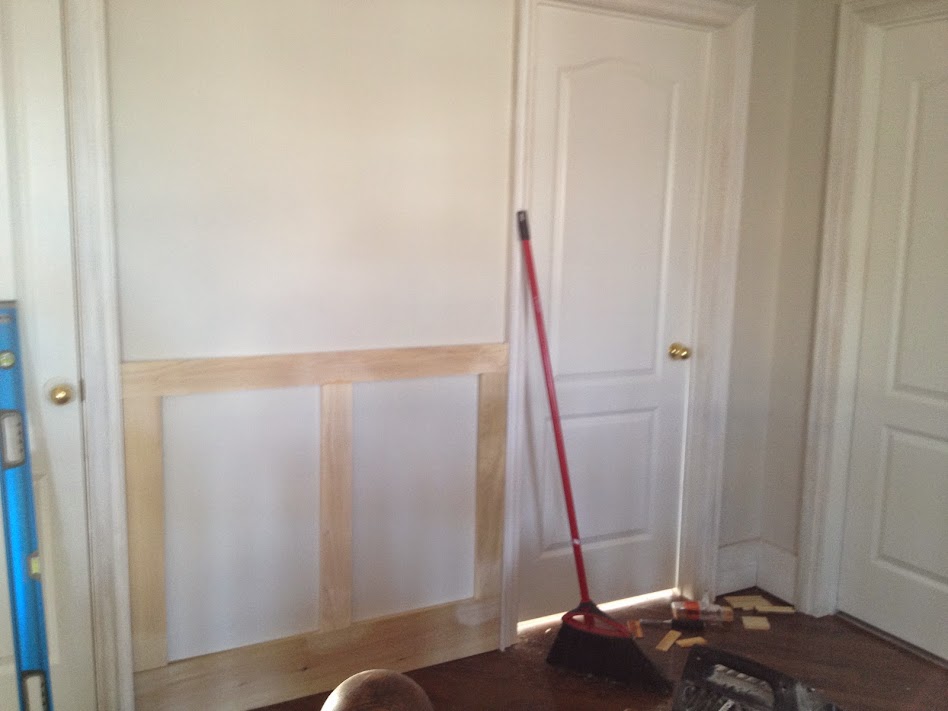
There are three stiles in the picture above, a rail on the top and the baseboard (some would consider this just a thicker stile). Once you connect those pieces just nail them to a wall. I use a nail gun but you can use a nail and hammer if you have a lot of time. Always ensure the rails and stiles are level and plumb before nailing it in.
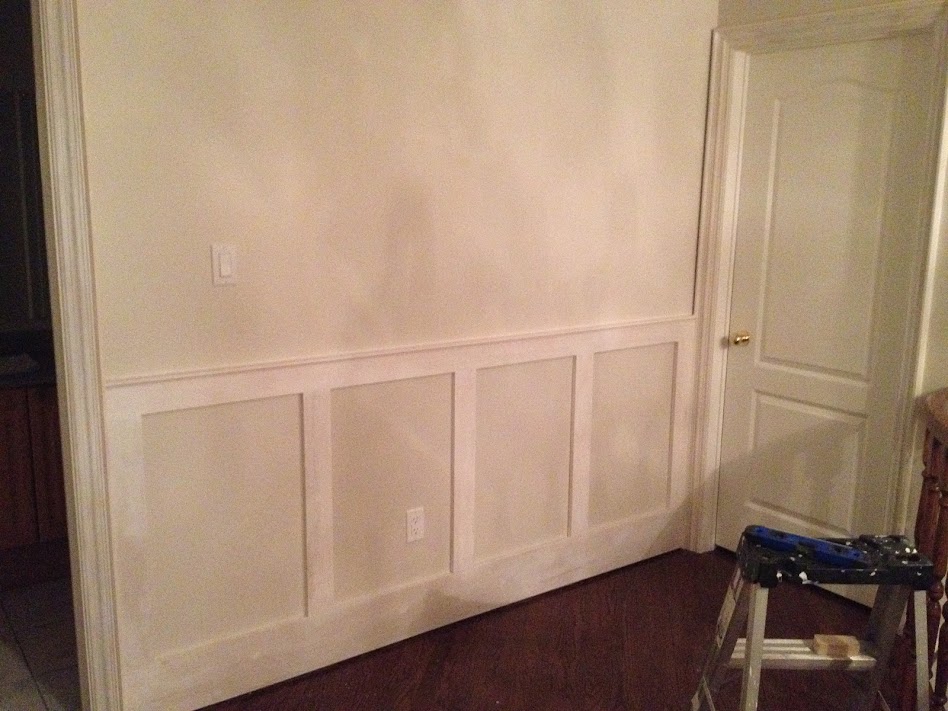
Next I chose to prime the wood just to see what it would look like (sometimes I get excited and do silly things). This is not necessary at this stage but I really wanted to get one wall done. Here is what it looks like:
Next, we opted to put in moulding in between the panels. See below for an example:

You can purchase a long strip of moulding (usually 8 feet) for around $5. You would mitre this at a 45 degree angle and then join the ends. Once you have done that for each box, you will now start priming your wainscot. Something like this:
Another tip is to paint the top colour before you stick on the wainscot. We learned this the hard way after the fact: Notice how on the far wall we pre-painted the top so when the wainscot goes on we only need to worry about touch up:

Once that is done, its now time to add on the baseboard and paint
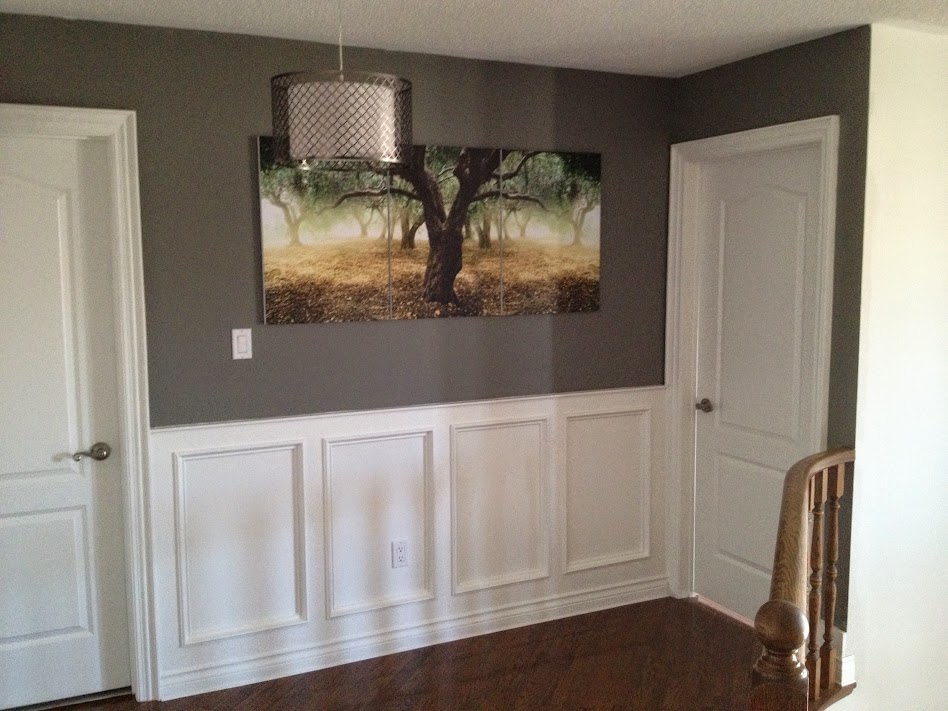
Finally, add some decorative art and swap out that ugly light fixture (most people didn’t even notice) and you’ll end up with a beautifully done wainscot wall
Now finally my rail and stile calculator has worked for so many people already. I am offering this calculator for free for my subscribers. All you have to do is register on the side bar and you will begin to receive all my freebies including my project plan and my rail and stile calculator.
The post TT 008: Wainscoting appeared first on Tool and Tie.
From The Podcast
Tool and Tie
Sats Sehgal from Tool and Tie take you down his DIY journey to home improvements. He shares the good and bad times, the mistakes and gives you tips on what works and what doesn't work. Take any existing home, whether it be your primary residence or a rental property and transform it into something magnificent. Sats has shared his story with others who have transformed their own house into something breathtaking. Learn everything from simple projects that add value to your home, design trends and tips and emerging technical trends such as home automation. He will also review tools, provide feedback on how to use them safely and help answer your questions along the way. He even shares some of the cooler things he has built and sold for a handsome profit. In addition to being a corporate executive and business coach, Sats, also has a realtors license and a provides perspective to investment strategies and ways to finance homes and improvements that deliver stunning value at the consumer.Join Podchaser to...
- Rate podcasts and episodes
- Follow podcasts and creators
- Create podcast and episode lists
- & much more
Episode Tags
Claim and edit this page to your liking.
Unlock more with Podchaser Pro
- Audience Insights
- Contact Information
- Demographics
- Charts
- Sponsor History
- and More!

- Account
- Register
- Log In
- Find Friends
- Resources
- Help Center
- Blog
- API
Podchaser is the ultimate destination for podcast data, search, and discovery. Learn More
- © 2024 Podchaser, Inc.
- Privacy Policy
- Terms of Service
- Contact Us